



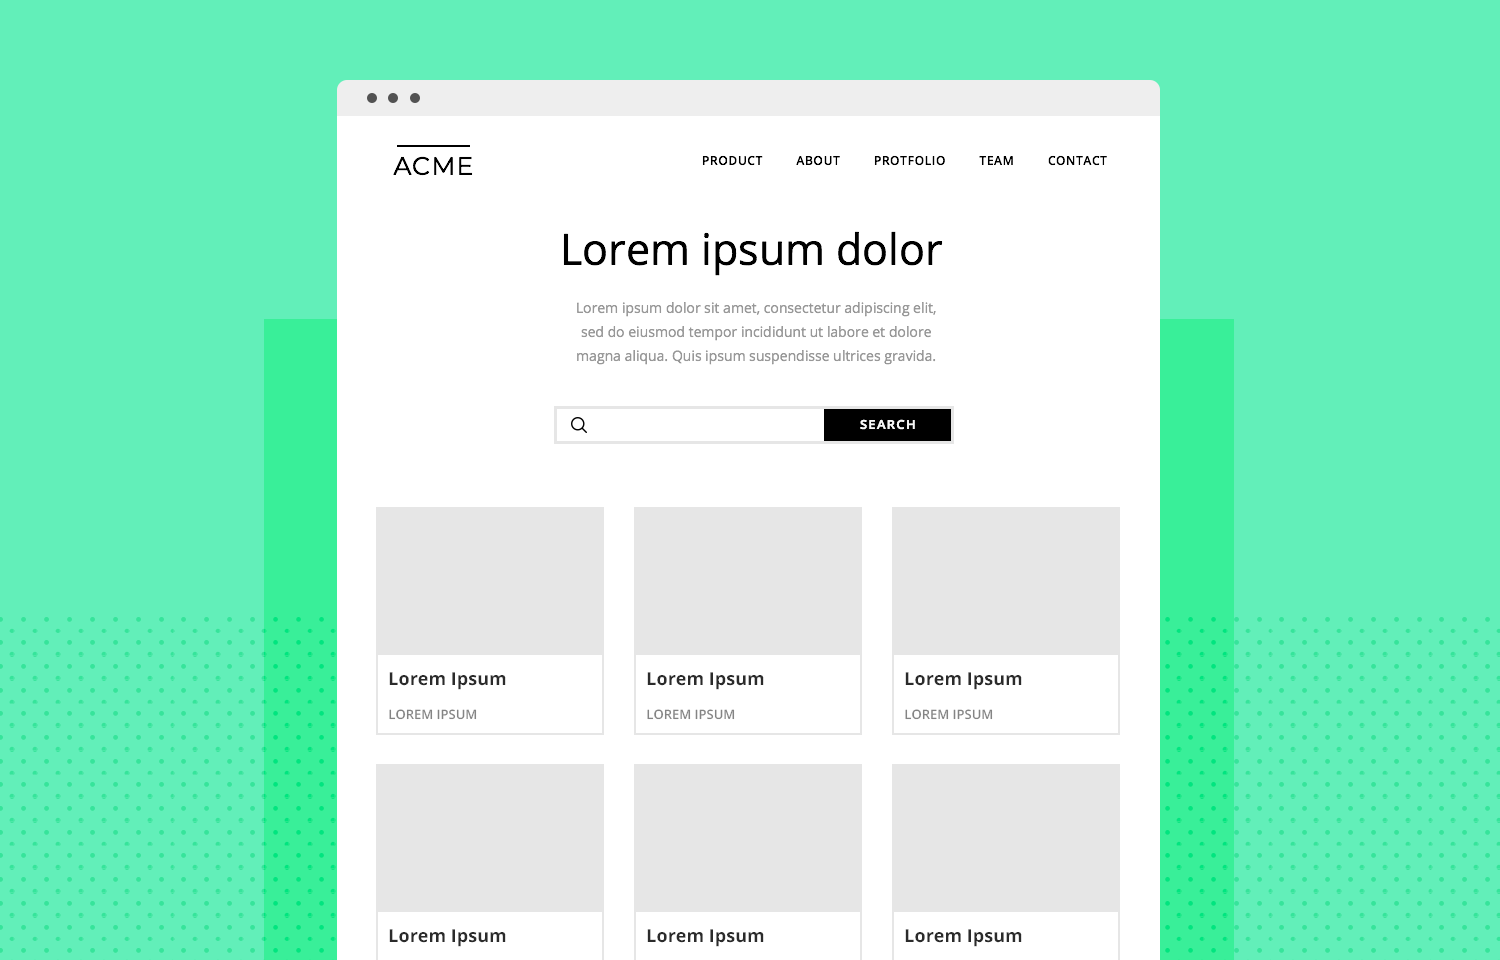
This concise worksheet provides a systematic approach to website development. It starts by identifying the project's purpose and setting precise goals. Next, it helps outline your target audience, defining who would benefit from your website. The focus then shifts to the website's design, integrating wireframes and your unique branding elements. Finally, it offers a practical guide for managing weekly tasks, ensuring efficient progress towards your website development goals.

You're making a great decision by choosing to learn how to code. As part of your course, you'll need to set up a GitHub account. Why, you ask? Well, GitHub is an essential tool used by millions of developers around the globe. It's where you'll store your code projects, collaborate with other learners, and even contribute to open-source projects later on.
CodeSandbox is an online code editor where you can create and share projects directly from your browser. It's especially great for web development, and supports a variety of different languages and frameworks. Here's a step-by-step guide on how to sign up for CodeSandbox using your new GitHub account:

We're excited to introduce our development template that combines Astro and Tailwind CSS. Astro's innovative approach minimizes JavaScript, delivering swift, efficient websites. Tailwind CSS complements this by providing a utility-first framework for creating visually compelling, custom UIs with ease. This fusion simplifies your workflow, resulting in an enhanced performance and user experience. It's the perfect starting point for your web projects, let's push the boundaries of web development together!
In this lesson, we'll be using CodeSandbox as our playground to explore HTML, CSS, and JavaScript, similar to how one experiments with Lego bricks. By mixing, matching, and reassembling these 'code bricks', we'll create interactive web projects. This playful approach allows us to understand the basics of web development while having fun, instilling a sense of creativity and exploration, just like building with Lego!

HTML (HyperText Markup Language): Imagine you're building a LEGO castle. The HTML is like the grey LEGO bricks that you use to construct the castle's walls, the towers, and the main gate. It gives the basic shape and structure to your castle.
<!DOCTYPE html>
<html>
<head>
<meta>
<title>
<body>
<header>
<h1>
<nav>
<ul>
<li>
<a>
<main>
<section>
<h2>
<p>
<footer>
©
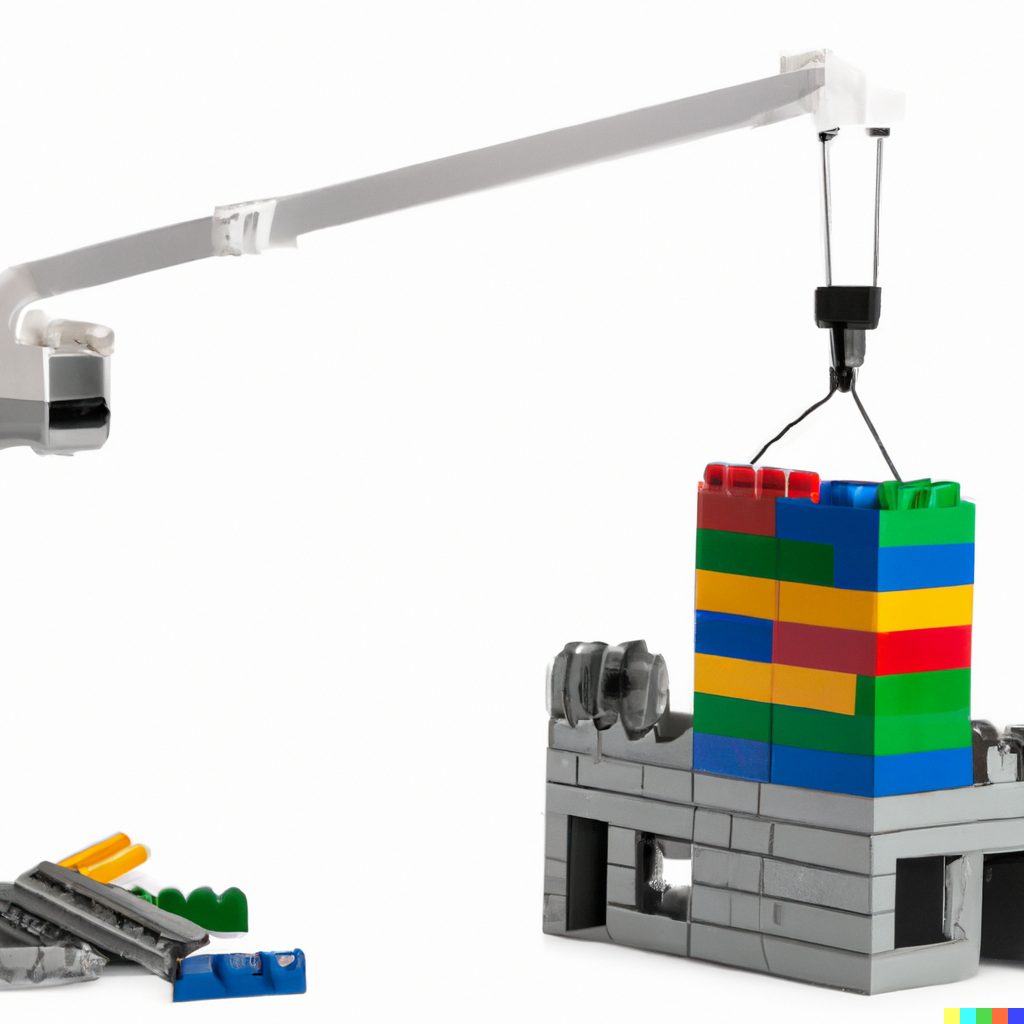
CSS (Cascading Style Sheets): CSS is like the instructions that tell you to put the biggest tower in the middle, the walls on the sides, and how to build a bridge at the front. It might tell you to put some green bricks at the bottom to make it look like the castle is on a grassy hill. CSS is the part that makes your castle pretty and colorful. It decides where each part of your castle goes, what color the bricks are, and how big or small they should be.
.class
#id
element
{ property: value; }
@media
/* comment */

Now, imagine you've got some magic LEGO bricks. These magic bricks can open the castle gate when you shout 'Open Sesame!', or make the castle guards march up and down the walls. JavaScript is like these magic bricks. It makes your castle do things. With JavaScript, you can make parts of your webpage move, respond to clicks or typing, or change in any way you can imagine.
<script>
function changeTitle()
document.getElementById("header-title")
.innerText = "Welcome to Your Awesome New Website!"